


Drawing tips from a Gauntlet artist
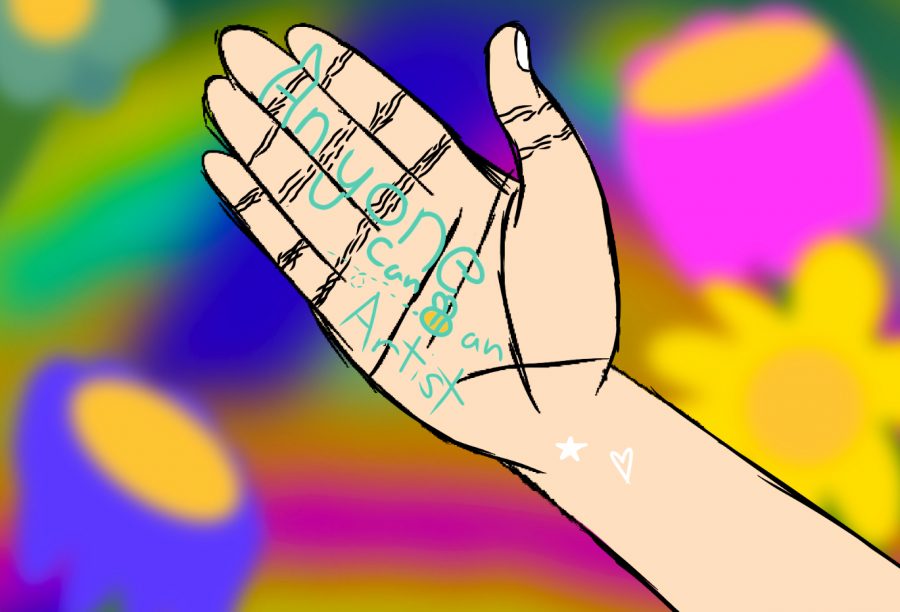
Anyone can be an artist.. You just may not know it yet. Here are some ideas to create or develop your art style, from one artist to another.
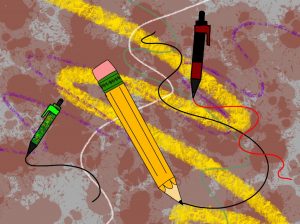
1. Never fear the utensil.
The first step to improving your arts is not being afraid to try. In hesitating to pick up your pencil, pen, stylus, etc. you are stopping your creative process and no one will ever see the incredible image you had in mind.
2. Don’t aim for perfection.
As an artist, chances are you will never be satisfied with your work, and that is totally okay! Asking someone how it looks and what they would do is not something to be scared of. Sharing your art can be difficult, but you’ll be shocked by the good that can come from it!
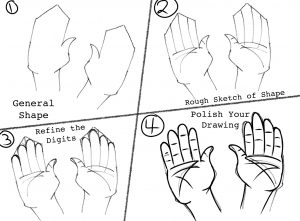
3. All hands are different.
Frankly, drawing hands is a pain, and if you are like I was, you tend to avoid them at all costs. But I have made a foolproof step-by-step picture guide to help you get all five fingers just right. (Step-By-Step in gallery below)
4. Never too much detail on a subject.
There is no such thing as too much detail on a piece. It all adds something, but it is understandable if it looks crowded. Smaller brush sizes and changing the opacity of the brush can help add detail, shading, patterns, etc. What is important is that you put everything into what you want to be the most important part of your piece, whether it’s a person, object, animal, or what have you!
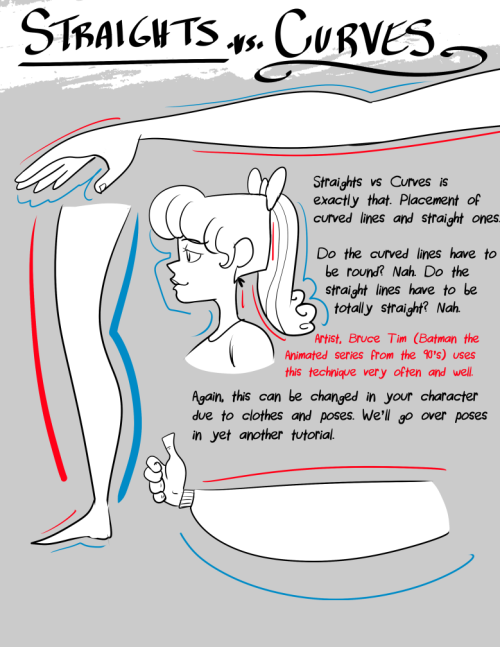
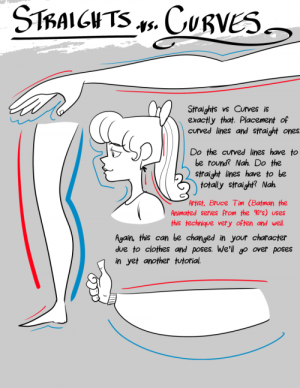
5. Straight vs. curved lines
Straight lines and curved lines can make or break your art. If you draw a body and curve some lines more than others on two different versions you’ll see exactly how much a difference it can make. Your body outline can go from sausage-y to more human-like with the difference of a few key lines.
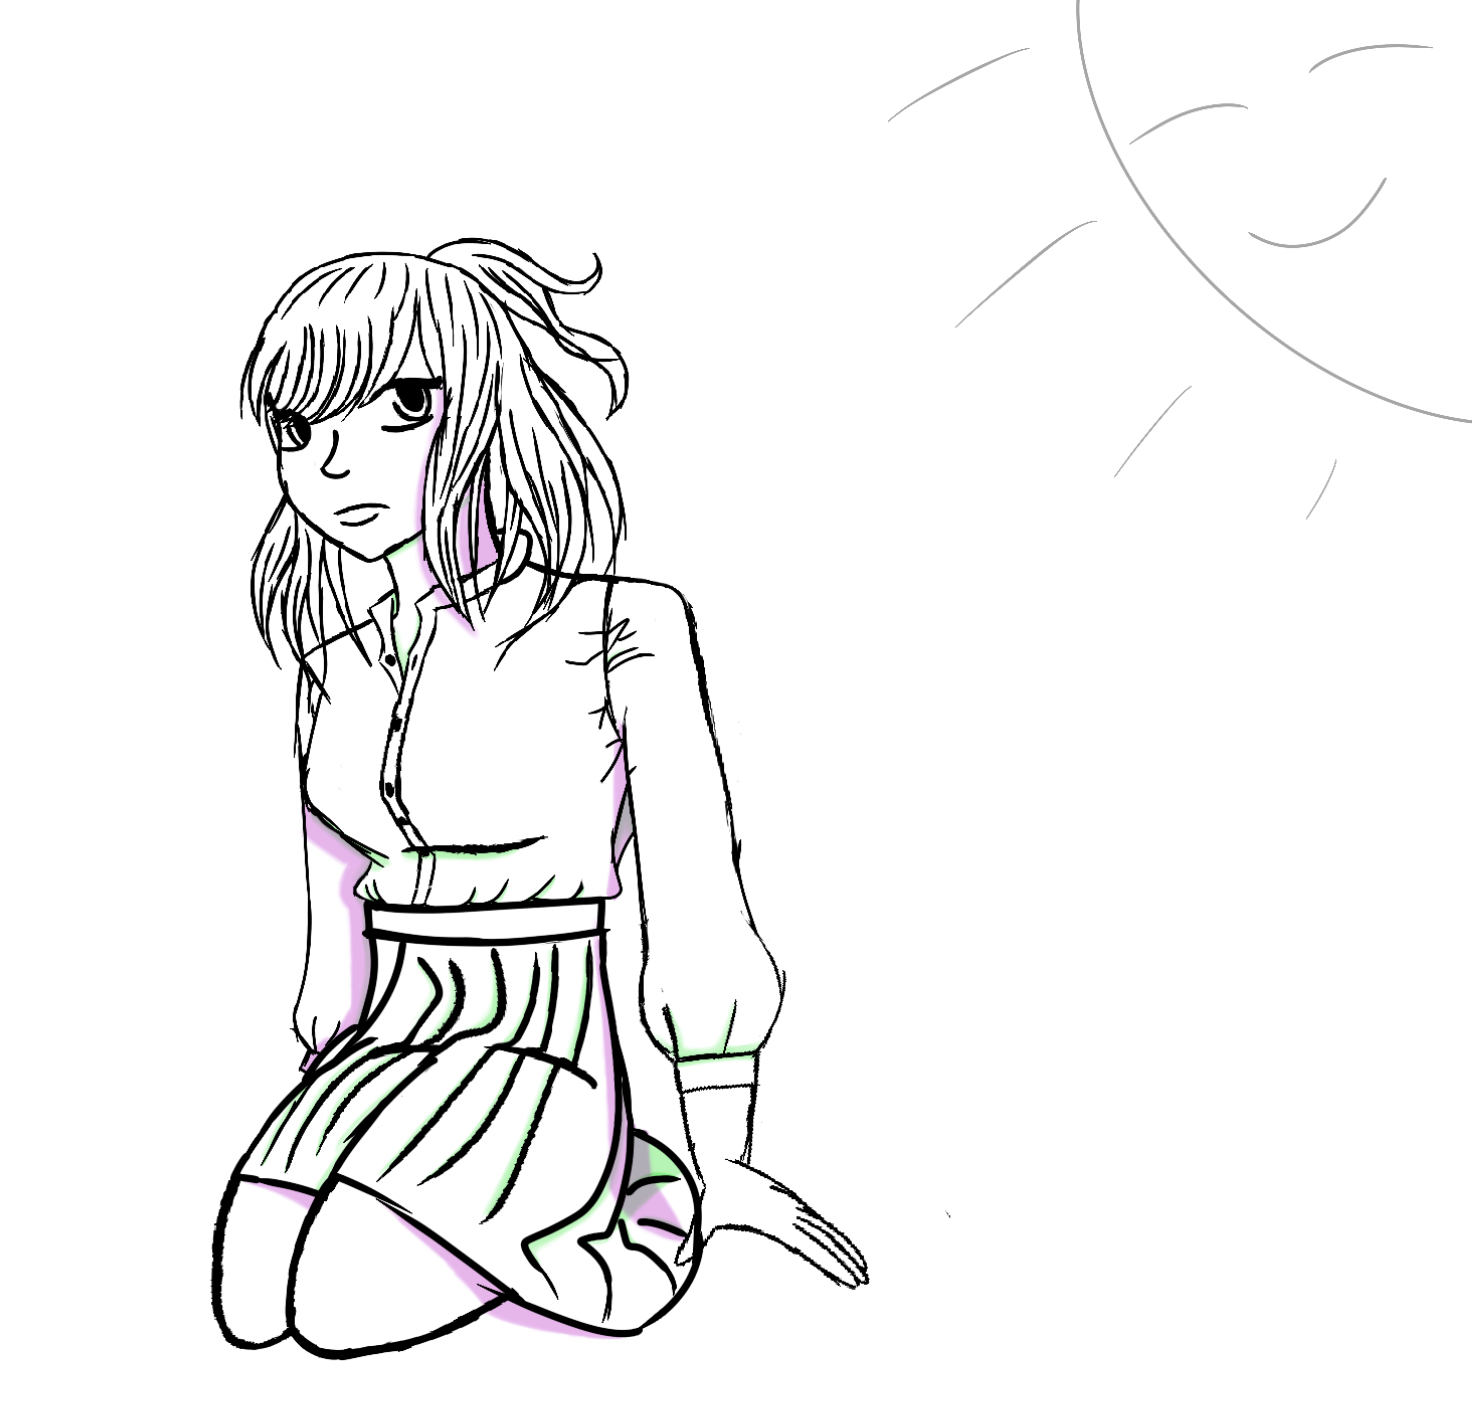
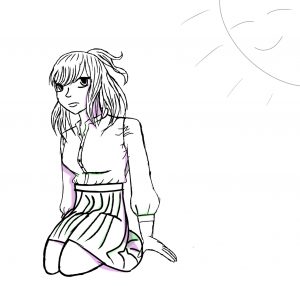
6. The shadow of doubt
Shading is difficult; I know it, you know it, everyone knows it. But something I found that helps is drawing a sun on a corner of your paper away from the drawing. This sun helps you imagine where the shadows are, their length, and how they behave on your subject. Some common mistakes I make are pulling out my shadows too far or putting shadows in where they don’t make sense.
7. Highlighting
Highlighting refers to the method of using a lighter hue to give the impression of lighter spots. This gives a nice effect on jewelry and clothing. You can make a shining necklace or make your shading pop more on your character or object. This also makes skin look more realistic and is a small detail that really counts.
8. How much time you dedicate to an art piece; less can be more.
The time a piece takes does not show your level of skill. The longer you spend on a project, chances are the better it is going to look, but if you work on it too long in one sitting, you’re more likely to get frustrated and give up. Whether you work on it for an hour over three days, two hours over a week, or 30 minutes a day it will look beautiful, you just have to trust yourself and take breaks.
9. Proportions depend on your style.
“Are the eyes too small?” “The shoulders look big to me.” “This hand looks wrong, but the other looks fine.” These are all things you’ll say or hear as an artist, but I’ve learned that sometimes it’s just your style. Refrain from copying someone else’s style; yours is unique, like your fingerprint, so own it! Some famous styles, like Picasso, are abstract and unproportionate or lack certain body parts, like necks! My style consists of broad shoulders, wide hips, and slightly large heads. Your style also reflects the world around you and how you look.
10. Creativity needs a home.
If there’s something I’ve learned, it’s that the mind does its best (and worst) thinking when it’s not thinking at all. This is why you remember something embarrassing or have a really good idea when you try to sleep. Finding a place to sit down and reflect or brainstorm can really help you if you are looking for ideas of something to draw, especially if you haven’t felt super inspired!
11. Backgrounds don’t have to be detailed.
While you may want to do those details on your background, you don’t have to. A blurred background can make your drawing pop, and a background with too many details can really take away from your drawing. If you are doing a scene or a room, detail it all you want, but if you are doing something like one person, I’d leave the background one color or muted colors blurred together. It’s all about keeping the attention on the parts you think are important to your piece.
Tip 1: Never fear the utensil

Tip 3: All hands are different.

Tip 5: Straight vs curved lines
Tip 6: The shadow of doubt
Tip 11: Backgrounds don’t have to be detailed.


Sarabeth Wester is a senior on The Gauntlet with four years under her belt of hard work in the newsroom as our Creative Director. Her favorite color is...